This blog post is a copy of the original Your first Cocoon application using Maven 2 tutorial, but this time we are going to use NetBeans to build the application!
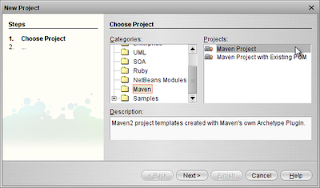
To create a new Cocoon block we go to File | New Project. We get a new dialog window with a list of project categories. We start by selecting the Maven category and then select Maven Project.
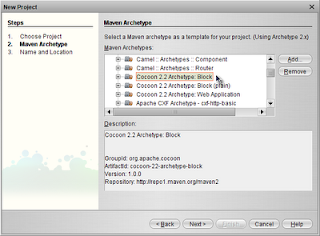
Click on the Next button and we get a new screen where we can select the Maven Archetype. We need to scroll down the list until we get to Archetypes from Maven repositories. We click on the plus-sign to get a new list of archetypes. We scroll down to Cocoon 2.2 Archetype: Block and select it.
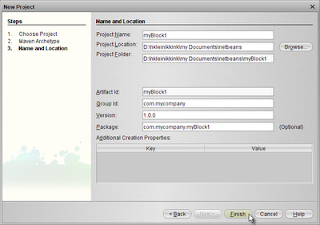
We click on the Next button to go to the last screen. Here we type myBlock1 at the Project Name input field. We type 1.0.0 in the Version input field and press the Finish button.
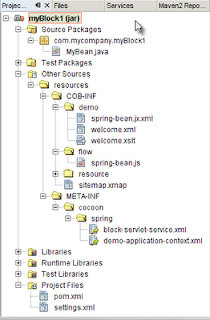
NetBeans will now generate a new project based on the Cocoon 2.2 block archetype. When we look at the project we can see a lot of directories are created and some sample files.
To run the block as Java web application we first go to the project properties. We right-click on the project and select Properties from the popup menu. In the project properties dialog window we must select the Actions category. Make sure Use external Maven for build execution is checked. See also Use external Maven to work with Cocoon. Then we redefine the Run project action and set Execute Goals to jetty:run. The Set Properties field must be empty. We click the OK button to finish up.
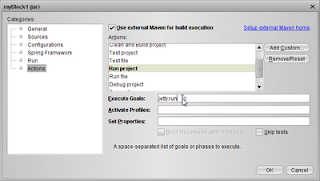
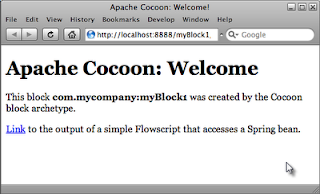
Now we can run the project (for example by using the shortcut Shift+F6 in Windows) and NetBeans will start Jetty. We can open a web browser and go to http://localhost:8888/myBlock1 and we get the sample page.
Because of an issue for Windows users (see issue 138116) we cannot shutdown Jetty from within NetBeans. We must use the task manager (or another tool) to kill the Jetty process. Or read Shutdown Jetty started by Maven in NetBeans.
