Generally it is a good idea to create a new Tomcat instance for development. This way the development and deployment is isolated from other applications. The directory of the instance is referred to by the CATALINA_BASE variable in Tomcat. When we configure a Tomcat server in NetBeans we can automatically generate the instance directory structure.
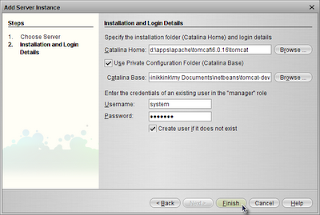
First we go to Tools | Servers and press the Add server... button. For this example we create a new Tomcat 6 instance, so we select Tomcat 6 from the list. Here we can change the name to reflect the purpose of the instance. We change the name to Tomcat 6 Sample. In the following dialog window we must fill in some values. The important one for us now is the checkbox Use Private Configuration Folder (Catalina Base). If we check this we can enter the name of the directory for our new instance.

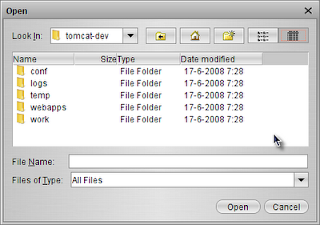
Keep in mind the directory must already exist, NetBeans will create the correct content in the directory, but not the directory itself. After filling in all necessary values we can press Finish, and NetBeans creates all the files and directories for our instance. The following screenshot show the content of the new instance directory:

